
April 1, 2024
Introducing PHPStan: Improving PHP Code Quality
While developing PHP applications, IDEs like PhpStorm or Visual Studio Code can help you quickly detect and fix errors. However, there are error cases that the IDE cannot detect, such as:
- Type errors: IDEs cannot check the data types of variables when they are passed between functions or methods.
- Call to undefined method errors: IDEs cannot check the calling of methods of an object if they are not defined.
- Accessing non-existing elements of an array or object: IDEs cannot check accessing non-existing elements of an array or object.
- ...
PHPStan is a static analysis tool for PHP code that helps detect errors in source code that regular IDEs cannot detect. Unlike dynamic analysis tools that identify issues during runtime, PHPStan performs its analysis by examining the codebase without actually running the application. This approach allows developers to catch errors and potential problems before deploying the code.
Key Features of PHPStan:
- Static Analysis: PHPStan analyzes your code without running it, identifying a wide range of potential issues such as type mismatches, undefined variables, and unreachable code.
- Type Inference: By analyzing the code flow, PHPStan can infer types of variables, enabling early detection of type-related errors and improving the overall reliability of your code.
- Error Detection: It flags common mistakes and potential bugs in your code, helping you catch errors early in the development process.
- Customizable Rules: PHPStan allows you to define your own rules and levels of strictness, tailoring the analysis to your specific project requirements.
- Integration: It seamlessly integrates with popular PHP development tools and continuous integration pipelines, making it easy to incorporate into your existing workflow.
Benefits of Using PHPStan:
- Early Issue Detection: PHPStan finds problems in your code before it runs, helping to catch and prevent bugs early.
- Better Code Quality: PHPStan points out areas where your code can be improved, which helps make your code easier to maintain and understand.
- Increased Developer Efficiency: Developers get immediate feedback in their coding environment, which speeds up development and reduces time spent debugging.
- Type Safety: PHPStan checks types in your code, making it safer and less likely to have runtime errors caused by type mismatches.
- Customizable Rules: You can customize PHPStan to fit your project’s requirements by creating your own rules and extensions, ensuring it follows your coding standards.
How to use PHPStan:
To start using PHPStan, follow these simple steps:
-
Organize project structure:
Below is an example of a simple directory structure for a project using PHPStan:
project_root/
│
├── src/ # Directory containing the PHP source code of the application
│ ├── index.php
│
├── vendor/ # Directory containing libraries and Composer dependencies
│ └── ...
│
├── phpstan.neon # PHPStan configuration file
└── composer.json # Composer configuration file
-
Install PHPStan using Composer
composer require --dev phpstan/phpstan - Create PHPStan Configuration:
Add config to phpstan.neon configuration file. This file can define rules, paths to analyze, and other configuration options.
Example phpstan.neon configuration:
parameters:
level: 7
phpVersion: 80000
paths:
- src
+ level: This sets the strictness level of PHPStan to 7, indicating a high level of analysis.
+ phpVersion: Configuration option specifies the PHP version that PHPStan should use for analysis. In this case, 80000 corresponds to PHP version 8.0.0.
+ paths: Specifies the directories to analyze.
- Run PHPStan:
We will add some error code examples to the index.php file for PHPStan to check.
index.php1 <?php2 // Using an undeclared variable3 echo $undefinedVariable;4
5 // Calling a non-existent function6 nonExistentFunction();7
8 // Calling a non-existent method within a class9 class AnotherClass {10 public function method() {11 $this->undefinedMethod();12 }13 }14
15 $anotherObj = new AnotherClass();16 $anotherObj->method();17
18 // Performing an operation on a non-numeric variable19 $nonNumeric = 'abc';20 $result = $nonNumeric * 2;21
22 // Using a global variable23 function testGlobal() {24 global $undefinedGlobal;25 echo $undefinedGlobal;26 }27
28 testGlobal();29
30 // Using a function with an inappropriate number of parameters31 function sum($a, $b) {32 return $a + $b;33 }34
35 $result = sum(5);36
37 // Accessing a non-existent element in an array38 $array = ['a', 'b', 'c'];39 echo $array[3];40 ?>
After that, Run PHPStan from the command line in your project directory:vendor/bin/phpstan analyse
- Review the Output:
PHPStan will analyze your code and provide feedback on any issues found. Review the output to identify and fix potential problems in your code.
Note: Using configuration file /var/www/html/phpstan.neon.1/1 [▓▓▓▓▓▓▓▓▓▓▓▓▓▓▓▓▓▓▓▓▓▓▓▓▓▓▓▓] 100%------ ---------------------------------------------------------------------Line index.php------ ---------------------------------------------------------------------3 Variable $undefinedVariable might not be defined.6 Function nonExistentFunction not found.? Learn more at https://phpstan.org/user-guide/discovering-symbols10 Method AnotherClass::method() has no return type specified.11 Call to an undefined method AnotherClass::undefinedMethod().20 Binary operation "*" between 'abc' and 2 results in an error.23 Function testGlobal() has no return type specified.31 Function sum() has no return type specified.31 Function sum() has parameter $a with no type specified.31 Function sum() has parameter $b with no type specified.35 Function sum invoked with 1 parameter, 2 required.39 Offset 3 does not exist on array{'a', 'b', 'c'}.------ ---------------------------------------------------------------------[ERROR] Found 11 errors
Conclusion:
PHPStan is a valuable tool for any PHP developer looking to write cleaner, more reliable code. By catching errors early and providing detailed feedback, it empowers developers to build high-quality PHP applications with confidence and efficiency.
References:
View More
April 1, 2024
Twilio Video Calls with Laravel: A How-To Guide
In web development, good communication is key for any successful app. It's important for connecting users worldwide and making interactions smooth within your platform. Twilio is handy for this because it gives you tools for talking, video calls, and messages. We'll show why Twilio is great and how to make a video call feature with Laravel 10.
1, Why Twilio?
- Reliability: Twilio boasts a highly reliable infrastructure, ensuring that your communication channels remain operational all time.
- Scalability: With Twilio, you can easily scale your communication features to accommodate growing user demands without compromising performance.
- Developer-Friendly: Twilio provides extensive documentation, libraries, and APIs, making it easy for developers to integrate communication features into their applications.
- Flexibility: Beyond video calls, Twilio offers a wide range of communication tools, including voice calls, SMS, chat, and more, allowing you to create comprehensive communication solutions tailored to your needs.
2, Example: Creating a Video Call
Let's dive into a practical example of integrating Twilio's video call functionality into a Laravel application.
Step 1: Setting Up Twilio Account
First, sign up for a Twilio account and obtain your Account SID and Auth Token, which you'll need to authenticate your requests.
Step 2: Installing Twilio SDK
Install the Twilio PHP SDK via Composer by running the following command in your Laravel project directory:
composer require twilio/sdk |
Step 3: Creating a Video Call
Now, let's create a simple controller method to initiate a video call:
use Twilio\Jwt\AccessToken;use Twilio\Jwt\Grants\VideoGrant;public function initVideoCallTwilio(Request $request){ $identity = $request->user()->name; // Get user's name as identity $twilioAccountSid = 'YOUR_TWILIO_ACCOUNT_SID'; $twilioApiKey = 'YOUR_TWILIO_API_KEY'; $twilioApiSecret = 'YOUR_TWILIO_API_SECRET'; $token = new AccessToken( $twilioAccountSid, $twilioApiKey, $twilioApiSecret, 3600, // Time to live for the token $identity // The identity to associate with the Access Token ); $grant = new VideoGrant(); $grant->setRoom('RoomName'); // Set room's name for the video call $token->addGrant($grant); return view("twilio_video", ['token' => $token->toJWT()]);} |
This controller method generates a Twilio access token for the authenticated user, allowing them to join a video call room named 'RoomName'.
Step 4: Client-Side Integration
On the client-side (e.g., using JavaScript), utilize Twilio's SDK to connect to the video call room and display the video interface.
const Video = require('twilio-video');const token = '{{ $token }}';Video.connect(token, { video: true, audio: true, name: 'RoomName' }).then(room => { console.log(`Connected to Room: ${room.name}`); room.on('participantConnected', participant => { console.log(`Participant "${participant.identity}" connected`); participant.tracks.forEach(publication => { if (publication.isSubscribed) { const track = publication.track; document.getElementById('video-div').appendChild(track.attach()); } }); });}).catch( error => { console.error(`Unable to connect to Room: ${error.message}`);}); |
This JavaScript code connects to the video call room using the access token generated by the Laravel controller and displays the remote participants' video streams.
3, Some disadvantages of Twilio with Zoom or Google Meet
- Twilio may require more development effort for integration compared to the ready-to-use platforms like Zoom or Google Meet.
- Zoom and Google Meet come with lots of video call features already, but Twilio might need extra changes to do exactly what you want.
- Figuring out Twilio's pricing might be trickier than Zoom or Google Meet, so you might end up paying more for some things.
- Users may already be familiar with Zoom or Google Meet interfaces, which could lead to a preference for these platforms over Twilio, resulting in lower adoption rates.
4, Conclusion
In conclusion, Twilio is super helpful for developers who want strong communication tools. Twilio is reliable, scalable, versatile, and easy for developers to use. It might need a bit more work to fit into your app compared to other options, but it's flexibility lets you make exactly what you need. Overall, Twilio is a great choice for making communication in your Laravel apps better and smoother.
References
View More
April 1, 2024
Form Validation In ReactJS With Yup And Formik
Form validation is an essential part of building user-friendly and robust web applications. In ReactJS, handling form validation can be complex, but fortunately, libraries like Yup and Formik provide powerful solutions. Yup offers schema-based validation, while Formik simplifies form management. In this post, we'll explore how to combine Yup and Formik to create a seamless form validation experience in ReactJS applications.
View More
April 1, 2024
Web Programming Series - Axios and Fetch
This is a series of articles about web programming. Here, I would like to share a few knowledge and experience with anyone.
In the first article, I will talk about Axios and Fetch, a knowledge so important in web programming. I hope the article will bring a lot of useful knowledge to everyone.
View More
April 1, 2024
CakePHP 4: How to Create a Login Function.
CakePHP is a popular PHP Framework. It is essentially an open-source web framework developed using PHP. In CakePHP4, the login function is strongly supported through the Authentication 2.0 plugin. The content of this article will show you how to create a login function using the web interface.
1. Create migration, table, entity, and controller classes for users.
Before implementing the steps below, you need to create a CakePHP web application. You can refer to how to create it at: https://book.cakephp.org/4/en/installation.html
- Create migration.
We need to create a Users table to store user information such as email, password, etc.
In CakePHP, we can create tables through the Migrations plugin. Details on instructions for creating tables can be found at: https://book.cakephp.org/migrations/4/en/index.html.
Run the command below to create the migration file:
bin/cake migrations create CreateUsers
The migration file will be created in the folder config/Migrations/yyyymmddxxxxxx_CreateUsers.php.
Source code to create Users table.
<?php
use Migrations\AbstractMigration;
class CreateUsers extends AbstractMigration {
public function change()
{
$table = $this->table('users');
$table->addColumn('email', 'string', ['limit' => 255])
->addColumn('password', 'string', ['limit' => 255])
->addColumn('created_at', 'datetime')
->addColumn('updated_at', 'datetime')
->create();
}
}
Execute the migrations command below to create the table for database.
bin/cake migrations migrate
- Create table, entity, and controller classes.
We use bake shell to help generate Table, Entity, Controller classes.
bin/cake bake all users
The classes are generated and saved one by one according to the paths below:
Table: src/Model/Table/UsersTable.php
Entity: src/Model/Entity/User.php
Controller: src/Controller/UsersController.php
2, Install Authentication Plugin.
Use composer to install the Authentication plugin:
composer require "cakephp/authentication:^2.4"
To compare the password from the user and the password value saved from the database, we need to hash the password from the user input and compare it.
We need to create a mutator/setter method on the User entity.
In the file src\Model\Entity\User.php we add the _setPassword() function as below:
<?php
declare(strict_types=1);
namespace App\Model\Entity;
use Authentication\PasswordHasher\DefaultPasswordHasher;
use Cake\ORM\Entity;
class User extends Entity
{
protected function _setPassword($password)
{
return (new DefaultPasswordHasher)->hash($password);
}
}
CakePHP hashes passwords with bcrypt by default. CakePHP recommend bcrypt for all new applications to keep your security standards high. This is the recommended password hash algorithm for PHP.
Bcrypt: https://codahale.com/how-to-safely-store-a-password/
3, Create a login function using the web interface.
To understand how the login function works, you can see the diagram below:

The Authentication plugin will handle the authentication process using 3 different classes:
Application will use the Authentication Middleware and provide an AuthenticationService, holding all the configuration we want to define how are we going to check the credentials, and where to find them.
AuthenticationService will be a utility class to allow you configure the authentication process.
AuthenticationMiddleware will be executed as part of the middleware queue, this is before your Controllers are processed by the framework, and will pick the credentials and process them to check if the user is authenticated.
- In src/Application.php.
- Add Authentication plugin.
protected function bootstrapCli(): void
{
$this->addOptionalPlugin('Bake');
$this->addPlugin('Migrations');
$this->addPlugin('Authentication');
}
- Implement AuthenticationServiceProviderInterface.
public function getAuthenticationService(ServerRequestInterface $request): AuthenticationServiceInterface
{
$service = new AuthenticationService([
'unauthenticatedRedirect' => Router::url('/login'),
'queryParam' => 'redirect',
]);
$fields = [
IdentifierInterface::CREDENTIAL_USERNAME => 'email',
IdentifierInterface::CREDENTIAL_PASSWORD => 'password'
];
$service->loadIdentifier('Authentication.Password', compact('fields'));
$service->loadAuthenticator('Authentication.Session');
$service->loadAuthenticator('Authentication.Form', [
'fields' => $fields,
'loginUrl' => [
Router::url([
'prefix' => false,
'plugin' => null,
'controller' => 'Users',
'action' => 'login',
]),
Router::url([
'prefix' => false,
'plugin' => null,
'controller' => 'Users',
'action' => 'webLogin',
])
],
]);
return $service;
}
The password identifier checks the passed credentials against a datasource.
Configuration options:
fields: The fields for the lookup. Default is ['username' => 'username', 'password' => 'password']. You can also set the username to an array. For e.g. using ['username' => ['username', 'email'], 'password' => 'password'] will allow you to match value of either username or email columns.
resolver: The identity resolver. Default is Authentication.Orm which uses CakePHP ORM.
passwordHasher: Password hasher. Default is DefaultPasswordHasher::class.
- Add AuthenticationMiddleware.
public function middleware(MiddlewareQueue $middlewareQueue): MiddlewareQueue
{
$middlewareQueue
// Catch any exceptions in the lower layers,
// and make an error page/response
->add(new ErrorHandlerMiddleware(Configure::read('Error'), $this))
// Handle plugin/theme assets like CakePHP normally does.
->add(new AssetMiddleware([
'cacheTime' => Configure::read('Asset.cacheTime'),
]))
->add(new RoutingMiddleware($this))
->add(new BodyParserMiddleware())
->add(new AuthenticationMiddleware($this));
return $middlewareQueue;
}
-
In src/Controller/AppController.php.
Load Authentication component.
public function initialize(): void
{
parent::initialize();
$this->loadComponent('RequestHandler');
$this->loadComponent('Flash');
$this->loadComponent('Authentication.Authentication');
}
- Create the form file LoginForm.php in the directory src/Form.
<?php
namespace App\Form;
use Cake\Form\Form;
use Cake\Form\Schema;
use Cake\Validation\Validator;
class LoginForm extends Form
{
protected function _buildSchema(Schema $schema): Schema
{
return $schema->addFields([
'email' => [
'type' => 'string',
'length' => 255
],
'password' => [
'type' => 'string',
'length' => 255
]
]);
}
public function validationDefault(Validator $validator): Validator
{
return $validator
->notEmptyString('email')
->email('email')
->maxLength('email', 50)
->notEmptyString('password')
->maxLength('password', 50);
}
}
- In src/Controller/UsersController.php.
- Create webLogin action to support login via Web interface.
public function webLogin()
{
$this->request->allowMethod(['get', 'post']);
$loginForm = new LoginForm();
$result = $this->Authentication->getResult();
if ($result && $result->isValid()) {
$this->redirect("/home");
}
if ($this->request->is('post')) {
$data = $this->request->getData();
if (!$loginForm->validate($data)) {
$this->Flash->error(__('Invalid username or password'));
}
if ($result && $result->isValid()) {
$this->redirect("/home");
} else {
$this->Flash->error(__('Invalid username or password'));
}
}
$this->set(compact('loginForm'));
}
- Override the berforeFilter function to bypass authentication for the webLogin action.
public function beforeFilter(EventInterface $event)
{
parent::beforeFilter($event);
$this->Authentication->allowUnauthenticated(['webLogin']);
}
- Create logout action to support logout function.
public function logout()
{
$this->Authentication->logout();
return $this->redirect(["action" => 'webLogin']);
}
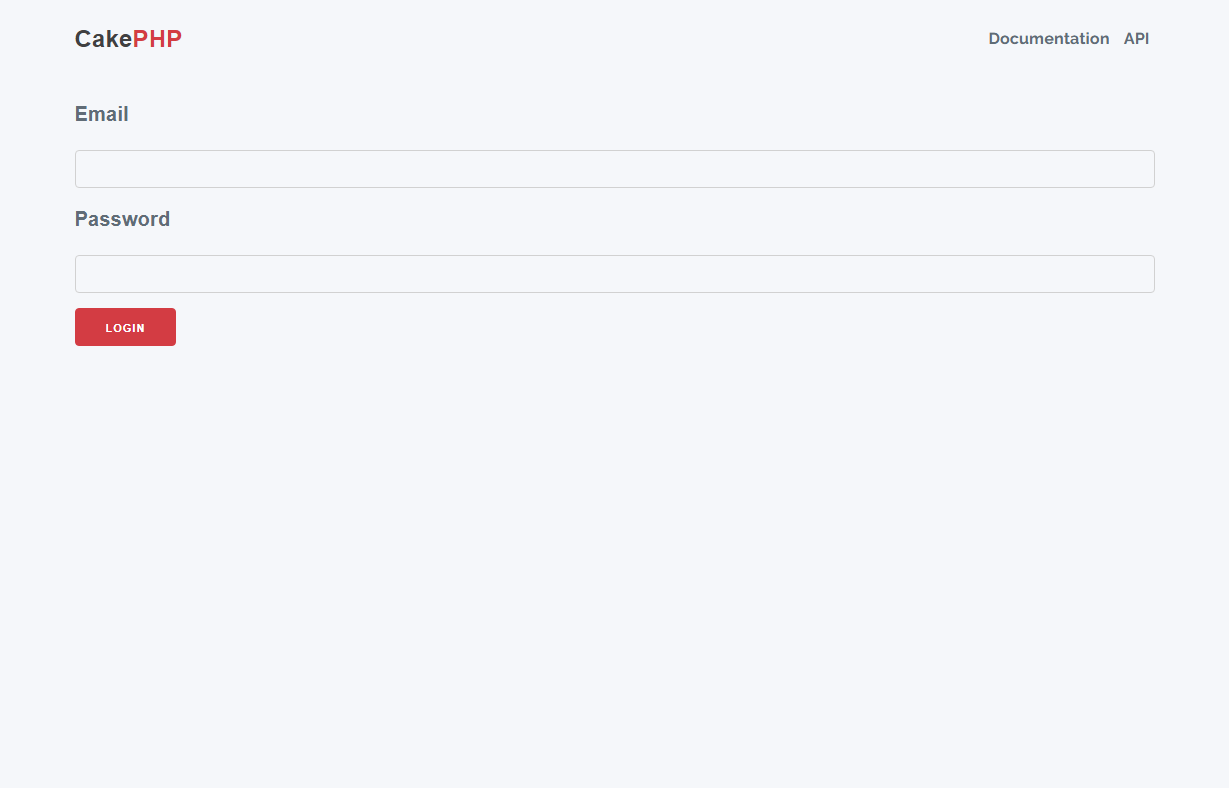
- Create the login page.
- Create the view file web_login.php in the directory templates/Users.
<?= $this->Flash->render() ?>
<?php $this->Form->setConfig('autoSetCustomValidity', false); ?>
<?= $this->Form->create($loginForm, ['novalidate' => true]) ?>
<?= $this->Form->control('email'); ?>
<?= $this->Form->control('password'); ?>
<?= $this->Form->button('Login') ?>
<?= $this->Form->end() ?>
- Update the login URL.
We will overwrite the login page url to /login instead of using the url /users/web-login.
In config\routes.php.
$routes->scope('/', function (RouteBuilder $builder): void {
$builder->connect('/login', ['controller' => 'Users', 'action' => 'webLogin']);
$builder->fallbacks();
}
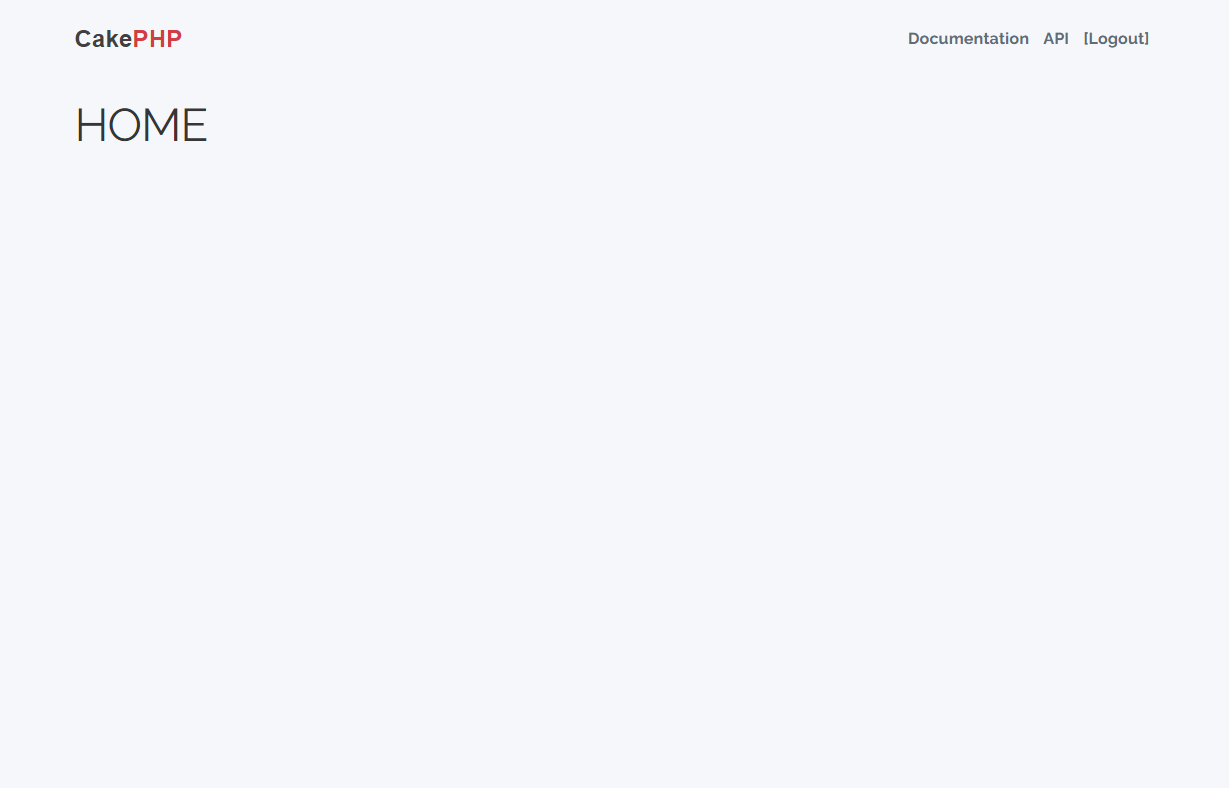
Access the /login to check login.
Successful login will be redirected to the Home page.
You can find the complete source code at: https://github.com/ivc-phampbt/cakephp-authentication/tree/web_login
Conclusion
In addition to supporting authentication using user_name and password, the authentication plugin also supports authentication via JWT Token. JWT token support makes authenticating Web APIs called from front-end frameworks (ex: VueJS, reactjs...) faster and more secure. In the future, I will have an article introducing authentication via JWT Token.
References
- https://book.cakephp.org/authentication/2/en/index.html
- https://sherryhsu.medium.com/session-vs-token-based-authentication-11a6c5ac45e4 [Image]
- https://www.rockersinfo.com/php-frameworks/cakephp-development-company/ [Image]
View More
March 29, 2024
Some tips to prevent Memory leak in jQuery
Memory leak in jQuery occurs when memory is allocated to an objects or variables but they are not released after it is no longer needed. This can lead to increased memory usage over time, which can eventually cause performance issues or even cause system crashes.
To prevent memory leaks in jQuery, it is important to properly manage event handlers and other objects by removing them when they are no longer needed. In addition, it is important to avoid creating unnecessary objects or variables.
Here are some examples of common memory leaks in jQuery and how to prevent them:
1. Attaching event handlers without removing them
When you attach an event handler to an element with the ".on()" method, jQuery creates a reference to the handler function. If you don't remove the handler when it's no longer needed, the reference will persist and the function will continue to be called every time the event occurs, even if the element has been removed from the DOM. This can lead to a lot of unnecessary function calls and memory usage.
To prevent this, you should always remove event handlers when they're no longer needed using the ".off()" method. For example:
|
// Attach a click handler to a button $('#btnView').on('click', function() { // Do something }); // Remove the click handler $('#btnView').off('click'); |
2. Storing references to DOM elements in variables
If you store a reference to a DOM element in a variable, but don't release the variable when it's no longer needed, the reference will persist and the element won't be garbage collected. This can lead to a build up of unused elements in memory.
To prevent this, you should always release references to DOM elements when they're no longer needed. For example:
|
// Store a reference to a DOM element in a variable var element = $('#SampleElement'); // Do something with element variable ... // Later, release the reference when no longer needed element = null; |
3. Creating unnecessary objects
If you create unnecessary objects, they will take up memory even if they're not being used. For example:
|
// Create a new unnecessary jQuery object var sampleObject = $('<div>'); |
The object is not used but still takes up memory.
To prevent this, you should only create objects when they're needed. For example:
|
// Only create the object when it's needed if (<<condition>>) { var sampleObject = $('<div>'); } |
4. Using jQuery selectors inefficiently
If you use jQuery selectors inefficiently, you can end up selecting a large number of elements unnecessarily, which can lead to slow performance and high memory usage. For example:
|
// Inefficient selector $('<div>').addClass('sampleClass'); |
To prevent this, you should use more specific selectors whenever possible. For example, instead of selecting all "div" elements on the page, select only the ones that are inside a particular container:
|
// More specific selector $('#sampleContainer div').addClass('sampleClass'); |
5. Creating circular references
If you create circular references between objects, they won't be garbage collected even if they're no longer needed. This can lead to a build up of unused objects in memory. For example:
|
// Circular reference var sampleObject = { parent: $('body') }; sampleObject.parent.child = sampleObject; |
To prevent this, you should avoid creating circular references. For example, instead of storing a reference to an object's parent in the object itself, store a reference to the object in the parent:
|
// Non-circular reference var myParent = $('body'); var myChild = {}; myParent.child = myChild ; myChild.parent = myParent ; |
Conclusion:
These are just a few examples of common memory leaks in jQuery and how to prevent them.
Hope the article helps you when working with jQuery library.
References:
https://makandracards.com/makandra/31325-how-to-create-memory-leaks-in-jquery
https://stackoverflow.com/questions/5046016/jquery-memory-leak-patterns-and-causes
https://copyprogramming.com/howto/jquery-memory-leak-patterns-and-causes
Image source: https://www.freepik.com/free-vector/realistic-vhs-effect-background_36860829.htm
View More
March 29, 2024
What is End-to-End Testing and Why should you use it?
What is End-to-End Testing?
End-to-end (E2E) testing is a comprehensive software testing methodology used to validate the entire workflow of an application from start to finish. It involves testing the application's functionality, performance, and integration with other systems, simulating real-user scenarios.

Why should you use it?
- E2E testing ensures that the software meets the business requirements and behaves as expected from the user's perspective.
- It verifies that all the integrated components of the system work together smoothly.
- It detects issues arising from interactions between different components or sub-systems.
However, the prioritization of each testing method will vary depending on the project's requirements. When selecting the appropriate testing strategy, here are some things to consider: the size of the system, the likelihood of encountering problems, available test data, budget constraints, and time limitations...
E2E Testing Objectives
- The main objective of E2E testing is to cover the entire application workflow, from user interface interactions to backend processing and data storage.
- Cross-System Testing: To identify issues when integrating inconsistent systems, E2E testing often includes testing across multiple systems, such as databases, APIs, servers, and third-party services.
To get a clearer understanding of E2E testing, let's consider a real-life example:
-
- Scenario: A customer buys products on an eCommerce site.
- Steps in E2E testing:
- Browse the website.
- Sign in with a registered account.
- Search for desired products.
- Add selected items to the shopping cart.
- Move to the checkout process.
- Choose a payment method (third-party services).
- Review the order details and complete the purchase.
- Ensure the customer receives a confirmation email (another system).
- The E2E testing is performed by testing each step mentioned above to verify that the entire process works as expected.
-
The differences between System Testing and E2E Testing
| System Testing | E2E Testing |
| Perform after the integration testing | Perform after the system testing |
| Cover all functional and non-functional testing | Cover the complete workflow of the system from start to end |
| Testers should have a clear understanding of the system | Testers should have a deep understanding of the system and sub-systems, including the business flow and data flow |
| Can be executed in both manual and automation testing | Automation testing is very complex to perform. So manual testing is preferred |
In summary, E2E testing plays a crucial role in ensuring the quality and reliability of software applications by validating their entire workflow and integration with other systems. By simulating real-world scenarios, E2E testing helps to identify and fix issues early in the development lifecycle, ultimately leading to a better user experience and higher customer satisfaction.
Reference image
https://www.freepik.com/free-vector/gradient-network-connection-background_12704535.htm#fromView=search&page=10&position=26&uuid=f903bef9-8e77-495c-a00f-33cc05adf7b4
https://www.freepik.com/free-vector/hand-drawn-flat-design-gathering-data-business-concept_20547395.htm#fromView=search&page=2&position=6&uuid=329be4c3-c2e9-45ad-9317-3ea972946e91
https://www.freepik.com/free-vector/curiosity-people-concept-illustration_30576696.htm#fromView=search&page=1&position=7&uuid=bb216d64-1ddf-4396-bb8a-3fc9212da751
View More
March 29, 2024
Create a CSS layout with CSS Grid and Flexbox.
CSS Layout is important in web design as it determines how elements are positioned on a webpage. CSS Grid and Flexbox have made designing layouts easier. This post explores the concepts of CSS Grid and Flexbox, their differences, and when to use each one.
View More
March 29, 2024
Higher-order Functions in the Javascript
Higher-order functions are the functions that operate on other functions by taking them as parameters or returning them. Simply put, a higher-order function is a function that takes other functions as arguments or returns functions as their results.
Higher-order functions are widely used in Javascript. Here are some Higher-order functions built into Javascript that you have probably come across:
View More