Multithreading is an important aspect of modern software development, enhancing performance and optimizing the use of system resources. In the C++ programming language, the ability to create and manage threads is facilitated by the standard library std::thread. In this article, we will explore the basic concepts of multithreading in C++, along with its practical applications and the benefits it offers.
1. Basic Concepts of Multithreading in C++
Multithreading is a technique that allows a program to perform multiple tasks simultaneously, utilizing CPU cores and system resources.
Today, many applications use multithreading, such as image processing and data handling applications. In C++, threads are created through the standard C++ library, std::thread. Each thread in C++ is executed independently and can perform different tasks.
2. Using Multithreading in C++: Applications and Benefits
Using multithreading to design and develop applications based on C++ offers many benefits, including:
- Increased Performance: Tasks can be executed in parallel, reducing waiting times and speeding up program execution.
- Workload Division: Large tasks can be divided into smaller ones and assigned to different threads to maximize system resource utilization.
- Concurrent Responsiveness: The program can handle simultaneous requests from users or different data sources without freezing or slowing down
For a programming language that can leverage many resources like C++, using multithreading is extremely beneficial. This is especially true in the development of applications related to embedded systems, where hardware resources are often significantly limited. Additionally, multithreading is used in image processing and analysis, where it can speed up image rendering and maximize computer resources.
For complex computations such as creating 3D images or simulating systems, using multithreading can make the computation and simulation processes faster.
3. Using multithreading in C++ source code
In C++, threads are managed by the std::thread class. To use this class, you need to include the thread header file. To create a thread, we use the statement: std::thread thread_obj(callable);
When executing the above statement, a thread will be created and will execute the [callable] function. The [callable] can be any of the five ways:
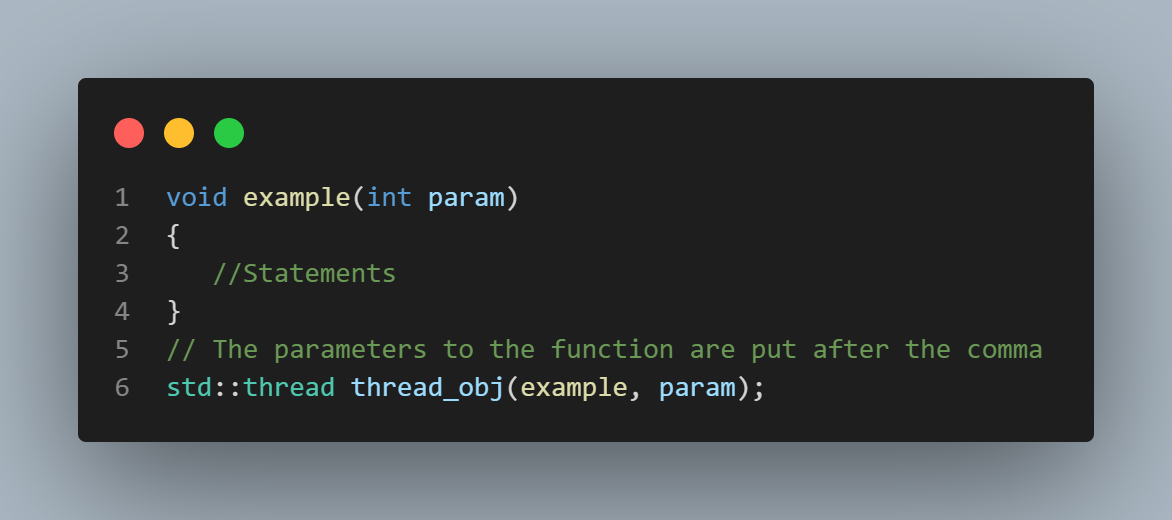
- Launching Thread Using Function Pointer:
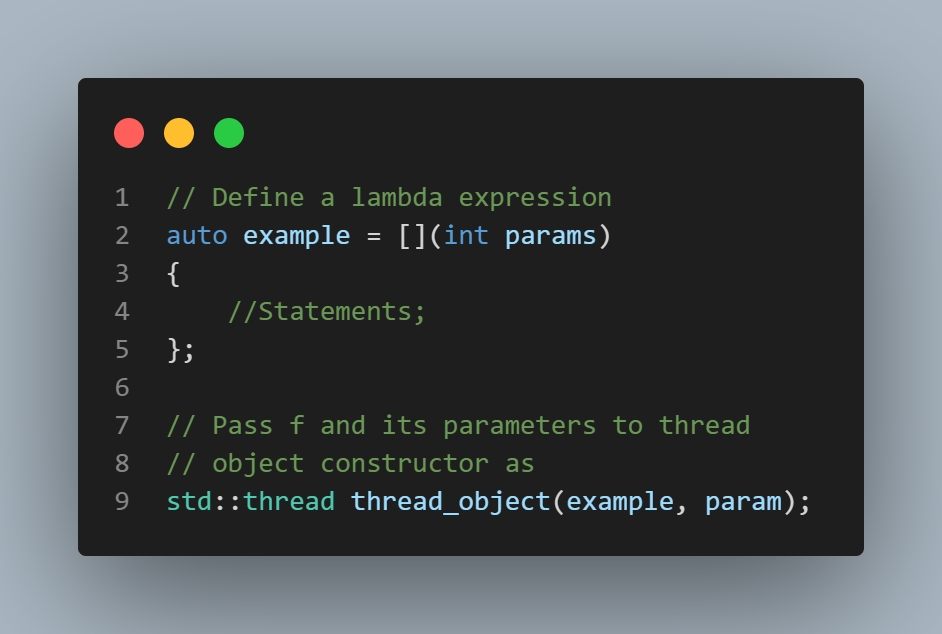
- Launching Thread Using Lambda Expression
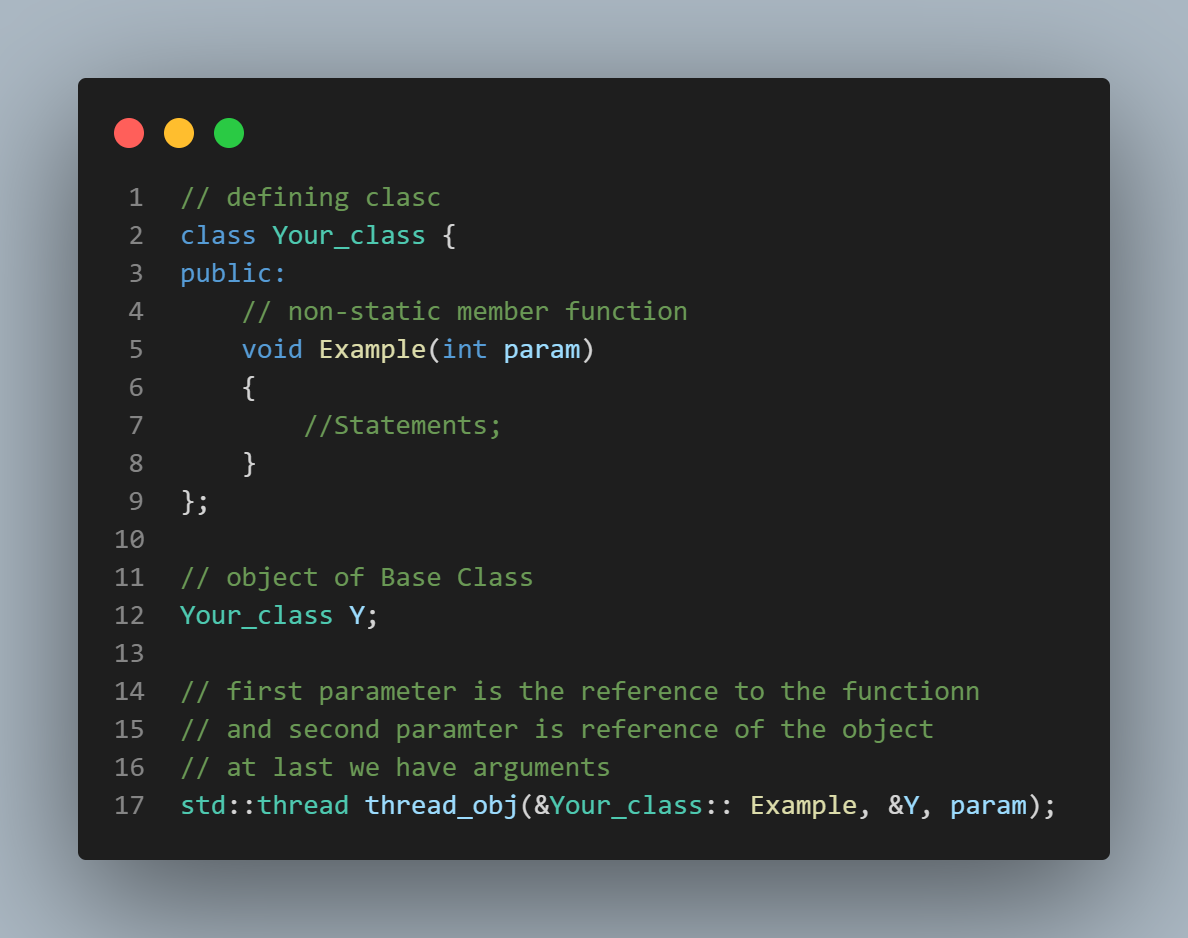
- Launching Thread Using Non-Static Member Function
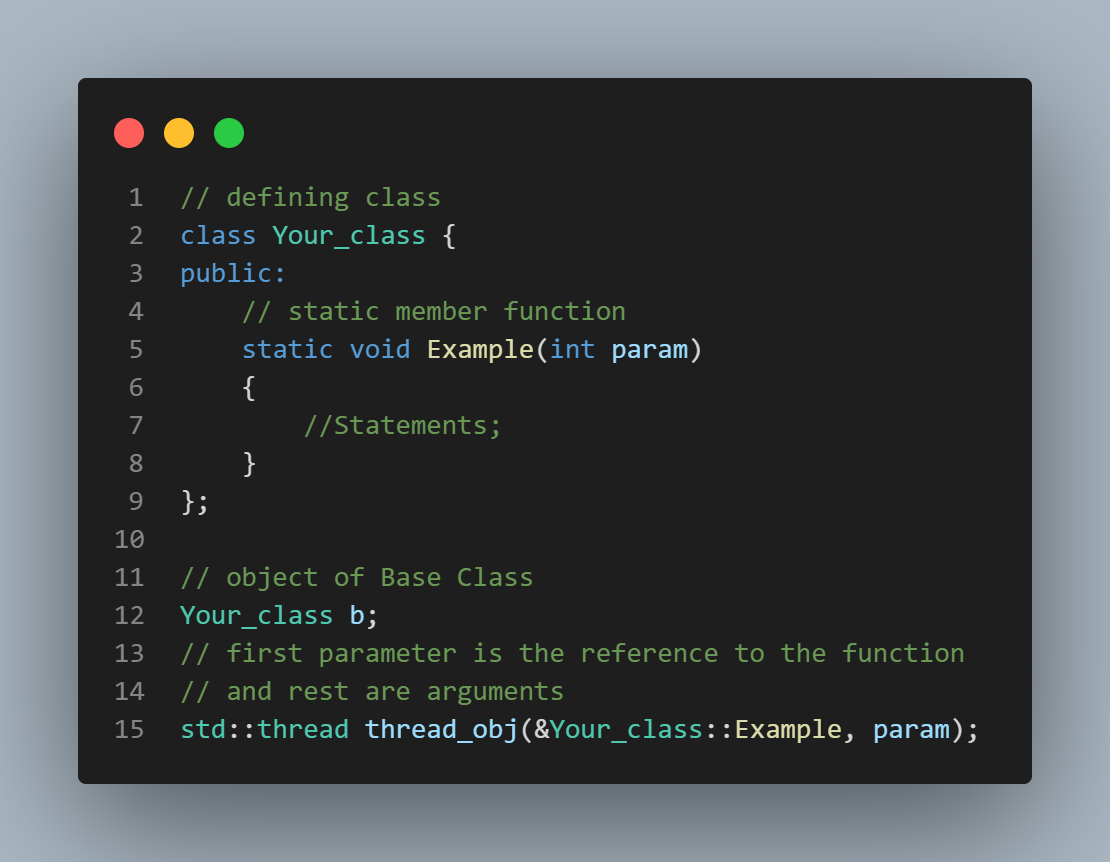
- Launching Thread Using Static Member Function
The above is an example to help you use basic multithreading. When using multithreading, you should pay attention to the following points to avoid data conflicts between threads:
- Avoid Race Conditions
- Deadlocks
- Atomic Operations
- Condition Variables
- Resource management
- Thread Safety
- Use thread-safe data structures
- Avoid over-subscription
4. Conclusion
Multithreading in C++ is an important technique for optimizing performance and efficiently utilizing system resources. However, using multithreading also requires solid knowledge of synchronization methods and resource management. I hope this article has provided you with an overview of this topic and encouraged you to further explore multithreading in C++.
References:
- https://www.geeksforgeeks.org/multithreading-in-cpp/
- https://techdifferences.com/difference-between-multiprocessing-and-multithreading.html
- https://www.linkedin.com/pulse/choice-between-multithreading-multi-processing-when-use-deepak-kumar-uxyvf
- https://www.tutorialspoint.com/cplusplus/cpp_multithreading.htm